Zendesk is a powerful and extremely customizable customer service tool, but a common challenge for companies moving from another application is migrating large amounts of ticket and user data. We’ve dealt with this enough times now to warrant the creation of a custom app that you can use to streamline the process.
This guide describes how to import users, groups, organizations and tickets using our Import app for Zendesk Support in the Zendesk App Marketplace.
The process for importing objects into Zendesk Support can be summarized as follows:
The first step is to create rows representing your objects within the app. There are two ways to do this:
One at a time by clicking on the Add Row button and entering the data manually.
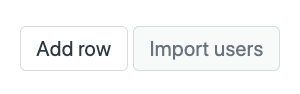
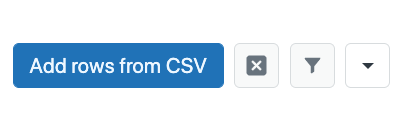
In bulk by adding rows from a CSV file.
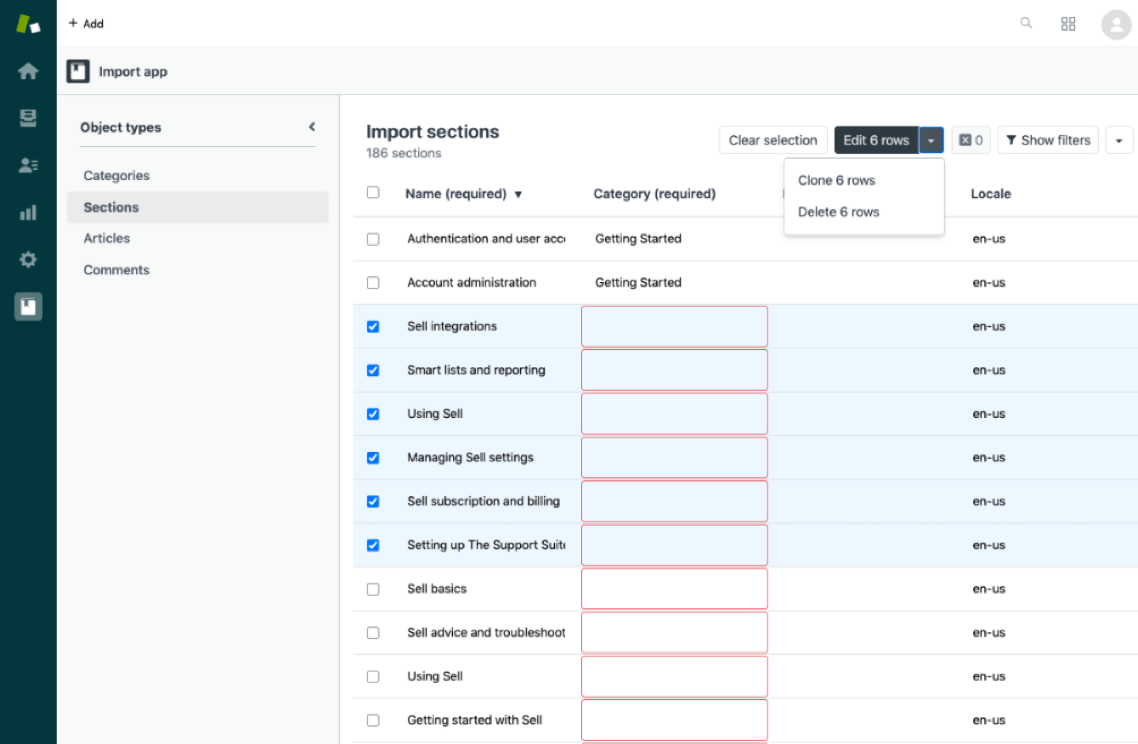
The app provides an editable table in which you can:
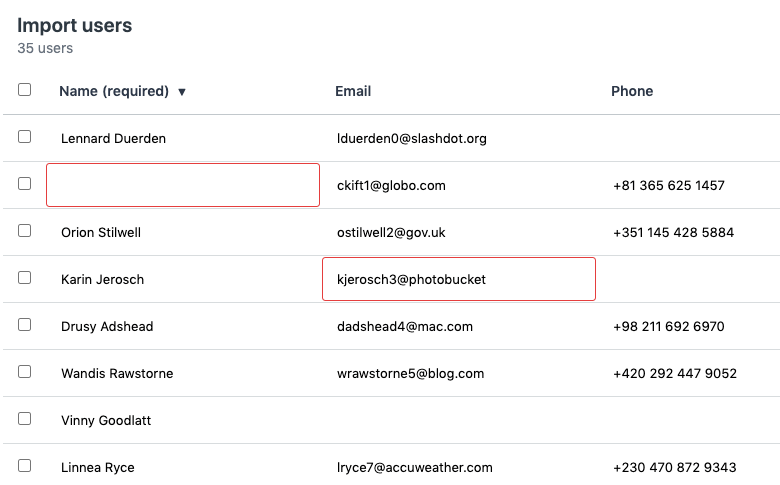
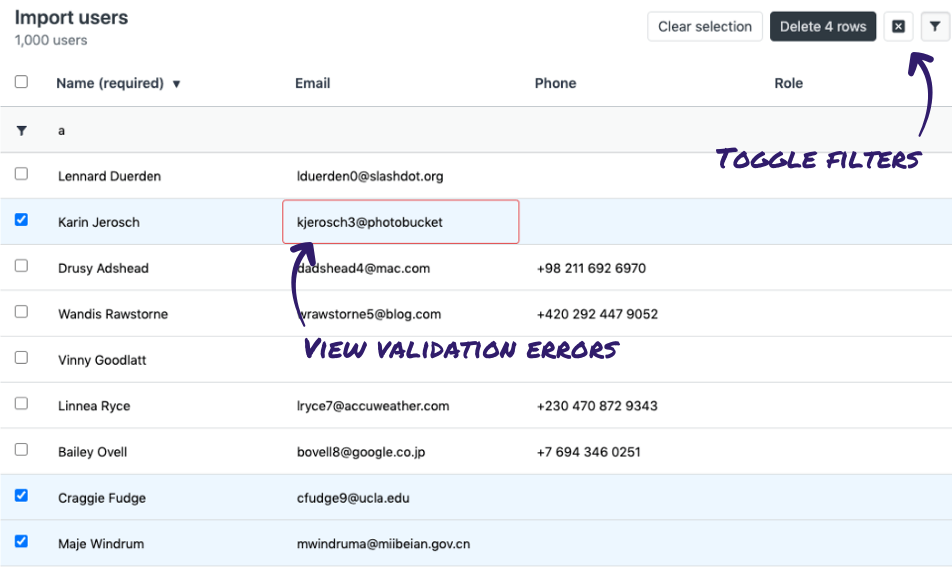
When creating rows or editing individual fields, you will be visually alerted to potential validation issues. The field type of each field matches that of the corresponding field in Zendesk, providing additional safeguards when editing data manually. For example, date fields present a date selector and number fields only allow numbers to be entered.
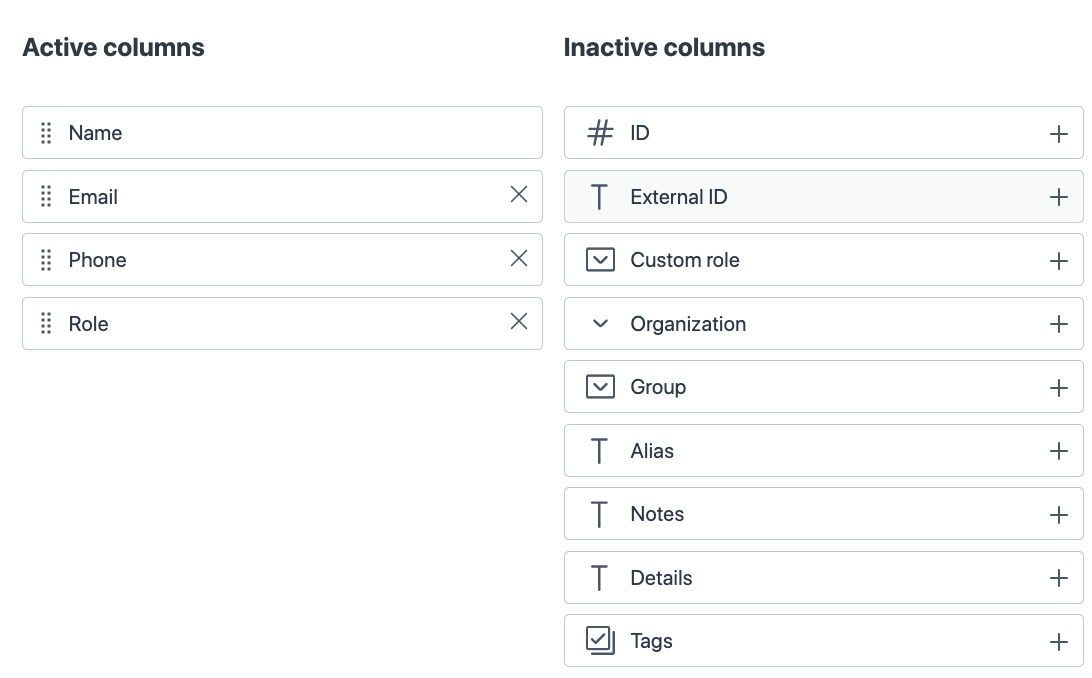
Table columns can be added, removed and reordered by clicking on the Manage Columns button within the table’s dropdown menu.
All user, organization and ticket custom field types are supported in addition to system fields.
The table (and each subsequent import) supports up to:
Once you have populated the table with your data, the next step is to review it before starting the actual import. To make this easy, the app allows you to:
Only the columns present within the table will be imported.
If you have more than 50 rows to import, pagination links will allow you to view each page.
If you’re satisfied that the data is complete and accurate, you can import all rows by clicking the Import button.
A progress indicator will guide you through the import itself. When the import has finished you can download a completion report containing all data, the newly created record IDs and status information (created, updated or failed with details where necessary).
In order to ensure that your CSV file can be imported properly:
The following field types are supported:
TRUE or FALSEYYYY-MM-DDThe following table outlines the column headers that can be specified when creating a CSV file containing your user data:
| Name | Type | Description |
|---|---|---|
id | integer | The ID of the user (used only when updating a user) |
external_id | text | The external ID of the user |
name | text | The user’s full name (required) |
email | text | The user’s primary (upon creation) or secondary (open update) email address |
phone | text | The user’s primary phone number |
role | text | The user’s role (end-user, agent or admin) |
custom_role_id | integer | The ID of a custom role if the user is an agent on the Enterprise plan |
organization_id | integer | The ID of the user’s organization |
default_group_id | integer | The ID of the user’s default group |
alias | text | An alias displayed to end users |
notes | text | Notes to store about the user |
details | text | Details to store about the user (e.g., an address) |
tags | text | The tag(s) to apply to the ticket, provided in a list separated by |. For example, tag_1|tag_2. |
user_fields.{key} | * | The value for a custom field where the type corresponds to the type of field created. Replace {key} with the field key for your custom user field. |
When adding custom user fields, the column header should be in the format user_field.{key} where {key} is the field key obtained when creating the field in Zendesk Support.
For detailed information about the user properties that are supported, visit the Users page of the Zendesk REST API documentation.
Specifying an id will update the associated user, whereas omitting an id will create a new one. Specifying an email or external_id will either create a new user or update an existing one, depending on whether a user already exists with those properties.
If you do not want emails to be sent to newly created users, you should disable the email verification message that’s sent out by default.
The following table outlines the column headers that can be specified when creating a CSV file containing your group data:
| Name | Type | Description |
|---|---|---|
id | integer | The ID of the group (used only when updating a group) |
name | text | The name of the group (required) |
description | text | The description of the group |
default | boolean | TRUE if the group is the default group, FALSE otherwise |
Specifying an id will update the associated group, whereas omitting an id will create a new one.
For detailed information about the group properties that are supported, visit the Groups page of the Zendesk REST API documentation.
The following table outlines the column headers that can be specified when creating a CSV file containing your organization data:
| Name | Type | Description |
|---|---|---|
id | integer | The ID of the organization (used only when updating a organization) |
external_id | text | The external ID of the organization |
name | text | The name of the organization ( required) |
details | text | Details to store about the organization |
notes | text | Notes to store about the organization |
group_id | text | The ID of the group to which tickets from users in this organization should be assigned |
shared_tickets | boolean | TRUE if users in the organization can view organization tickets, FALSE otherwise |
shared_comments | boolean | TRUE if users in the organization can view organization comments, FALSE otherwise |
tags | text | The tag(s) to apply to the ticket, provided in a list separated by | |
domain_names | text | The email domain(s) that result in a user being automatically added to the organization, provided in a list separated by | |
organization_fields.{key} | * | The value for a custom field where the key is that of your custom organization field |
For detailed information about the group properties that are supported, visit the Organizations page of the Zendesk REST API documentation.
Specifying an id will update the associated organization, whereas omitting an id will create a new one. Specifying an external_id will either create a new organization or update an existing one, depending on whether an organization already exists with that external_id.
The following table outlines the column headers that can be specified when creating a CSV file containing your ticket data:
| Name | Type | Description |
|---|---|---|
id | integer | The ID of the ticket (used only when updating a ticket) |
external_id | text | The external ID of the ticket |
subject | text | The subject line of the ticket |
description | text | The description of the ticket (required) |
internal | boolean | TRUE if the initial ticket comment should be an Internal Note, FALSE otherwise |
type | text | The ticket type (problem, incident, question or task) |
priority | text | The ticket priority (low, normal, high or urgent) |
status | text | The ticket status (new, open, pending, hold, solved or closed) |
requester_id | integer | The ID of the ticket requester (if blank, the requester will be the user performing the import) |
requester_email | text | The email address of the ticket requester (if blank and no requester_id is specified, the requester will be the user performing the import) |
group_id | integer | The ID of the group to which the ticket is assigned |
assignee_id | integer | The ID of the individual ticket assignee |
submitter_id | integer | The ID of the ticket submitter |
organization_id | integer | The ID of the organization associated with the ticket |
brand_id | integer | The ID of the brand associated with the ticket |
due_at | date | The due date of the ticket in the format YYYY-MM-DD |
tags | text | The tag(s) to apply to the ticket, provided in a list separated by |. For example, tag_1|tag_2. |
custom_fields.{id} | * | The value for a custom field where the ID is that of your custom ticket field. Replace {id} with the field ID for your custom ticket field which can be found on the Ticket Fields page in Zendesk Support. |
For detailed information about the group properties that are supported, visit the Tickets page of the Zendesk REST API documentation.
Specifying an id will update the associated organization, whereas omitting an id will create a new one. Specifying an external_id will either create a new organization or update an existing one, depending on whether an organization already exists with that external_id.
If you are importing tickets with the On Hold status, make sure that you have that option enabled in the Status field with Zendesk Support before staring the import.
As you may have guessed, this app can be used for more than just imports. Examples of other use-cases made easy by the app include:
And the list goes on.
If you’ve been struggling with one-off or ongoing imports, you can now save time and money and take control over the process.